How to Plumb a Toilet
1. Preparation
Gather Tools and Materials
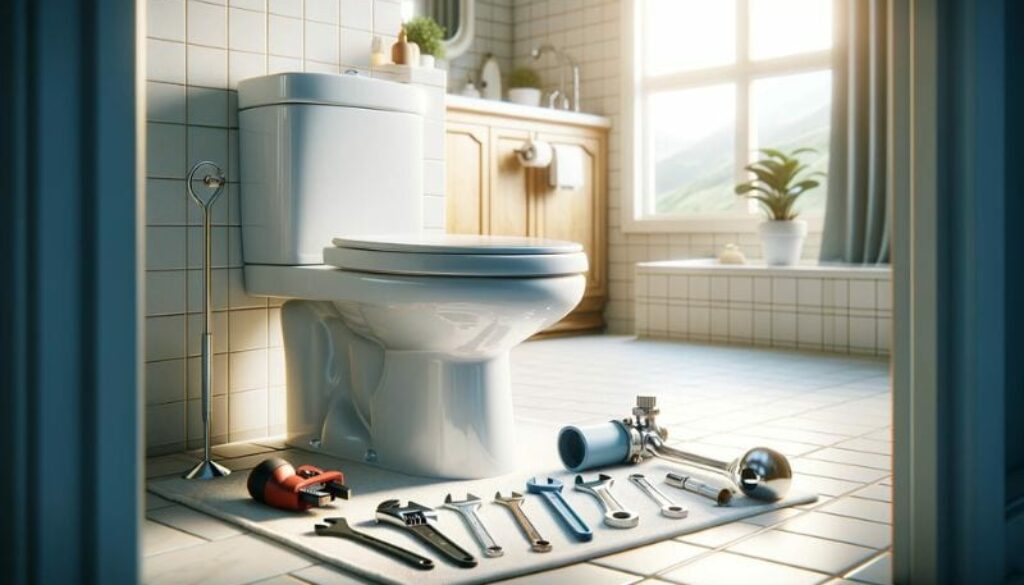
- Tools Needed: Adjustable wrench, screwdriver, level, hacksaw, measuring tape.
- Materials: New toilet (tank, bowl), wax ring, toilet bolts, supply line.
Remove the Old Toilet (if applicable)
- Turn Off Water: Shut off the water supply to the toilet.
- Flush and Empty: Flush the toilet to empty the tank and bowl. Use a sponge or towel to remove any remaining water.
- Disconnect Supply Line: Unscrew the water supply line from the toilet tank.
- Remove Bolts: Unscrew the bolts securing the toilet to the floor.
- Lift Toilet: Carefully lift the toilet off the bolts and move it away from the area.
2. Preparing the Flange
- Inspect the Flange: Ensure the flange (the interface between the toilet and the drainpipe) is level and not damaged. Repair or replace if necessary.
- Clean the Flange: Remove old wax and debris to ensure a clean surface for the new installation.
3. Setting the New Toilet
Place the Wax Ring
- Position the Wax Ring: Place a new wax ring on the flange, ensuring it’s perfectly centered. Some models come with an adhesive side that sticks to the flange.
Install Toilet Bolts
- Insert Bolts: Slide new closet bolts into the slots on the flange, positioning them to align with the holes on the base of the toilet.
Position the Toilet
- Lower the Bowl: Carefully lower the toilet bowl onto the flange, aligning the holes in the base with the closet bolts. Press down firmly to compress the wax ring and create a watertight seal.
- Level the Toilet: Check the toilet for level from side to side and front to back. Adjust as needed by gently rocking the toilet or using shims under the base.
Secure the Toilet
- Tighten Bolts: Place the washers and nuts on the bolts and hand-tighten. Then, use a wrench to snugly tighten the bolts. Be careful not to over-tighten, as this can crack the porcelain.
4. Attach the Tank
- Prepare the Tank: If the tank and bowl are separate, install the tank-to-bowl gasket on the bottom of the tank.
- Mount the Tank: Lower the tank onto the bowl, aligning the mounting holes. Insert and tighten the bolts that secure the tank to the bowl.
5. Connect the Water Supply
- Attach Supply Line: Connect the water supply line to the tank’s fill valve. Tighten securely.
- Turn On Water: Open the shut-off valve to allow water to fill the tank. Check for leaks around the supply line and at the base of the toilet.
6. Final Checks
- Test Flush: Once the tank is full, flush the toilet to ensure it operates correctly and the bowl fills properly.
- Check for Leaks: Inspect the base of the toilet and the connection points for any signs of water leakage.
- Caulk the Base: Optionally, apply a bead of silicone caulk around the base of the toilet for a finished look and to prevent water from getting under the toilet. Leave a small gap at the back to detect any future leaks.


