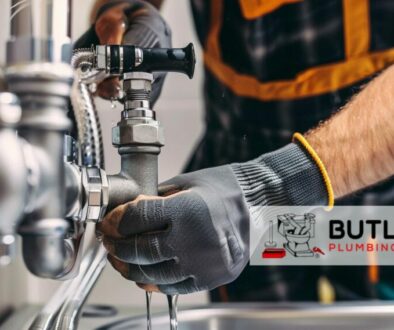
How to Plumb a Kitchen Sink
1. Preparation
Gather Tools and Materials
- Tools Needed: Adjustable wrench, plumber’s putty, pipe wrench, PVC pipe cutter (if dealing with PVC pipes), hacksaw (for metal pipes), tape measure.
- Materials: Kitchen sink, faucet, strainer, water supply lines, PVC or metal drainage pipes (depending on your setup), P-trap, plumber’s tape.
Remove the Old Sink (if applicable)
- Turn Off Water: Shut off the water supply valves under the sink.
- Disconnect Supply Lines: Use the adjustable wrench to disconnect the water supply lines from the faucet.
- Disconnect Drain: Loosen the slip nuts with a pipe wrench or by hand (if PVC) and disconnect the drain pipe from the sink.
- Remove the Sink: After all connections are removed, lift the old sink out of the countertop.
2. Install the New Faucet
- Apply Plumber’s Putty: Roll plumber’s putty into a rope and apply it around the base of the faucet.
- Set the Faucet: Place the faucet into the pre-drilled holes in the sink and press down to seal.
- Secure Faucet: From underneath, secure the faucet with the provided nuts and washers.
3. Install the Strainer
- Apply Plumber’s Putty: Similar to the faucet, apply plumber’s putty around the strainer.
- Insert Strainer: Place the strainer into the drain hole of the sink and press firmly.
- Secure Strainer: From below, tighten the strainer’s locking nut to secure it in place. Remove any excess putty.
4. Set the Sink
- Seal the Edge: Apply a bead of silicone caulk or plumber’s putty around the edge of the countertop opening.
- Place the Sink: Carefully lower the sink into the opening. Press down to ensure a good seal.
- Secure the Sink: Use clips or screws (provided with the sink) to secure it to the countertop.
5. Connect the Water Supply
- Wrap Threads with Plumber’s Tape: Apply plumber’s tape to the threads of the water supply valves and faucet connections.
- Attach Supply Lines: Connect the water supply lines to the faucet and then to the shut-off valves. Tighten securely with the adjustable wrench.
6. Install the Drain Pipes
- Assemble the P-trap: Connect the P-trap to the sink strainer and the wall drain pipe. If necessary, cut the PVC pipes to fit using a PVC cutter or a hacksaw for metal pipes.
- Ensure Proper Fit: Dry fit the pieces first to ensure they align properly without forcing them.
- Secure Connections: Tighten all slip nuts by hand (if PVC) or with the wrench for a secure fit. For PVC connections, you may need to use PVC cement for a permanent seal.
7. Check for Leaks
- Test Water Connections: Turn on the water supply and check the faucet and supply line connections for leaks. Tighten as necessary.
- Test Drain: Fill the sink with water and check the drain and P-trap for leaks. Tighten any slip nuts if needed.
8. Final Adjustments
- Adjust the P-trap: If you notice slow drainage, you may need to adjust the height or alignment of the P-trap.
- Caulk the Sink: Apply a bead of silicone caulk around the edge of the sink where it meets the countertop for a watertight seal.


